PhotoSnob

Photography by Bryan Allo

  • About
  • Contact

Photo studio on a budget

Posted by Snob on July 6, 2013
Posted in: studio. Tagged: backdrop, background, budget, studio. 1 Comment

The world of professional photography is full of gimmicks. This especially applies to camera gear and the plethora of opinions out there about them. It most certainly applies to studio and lighting accessories. Today you can very easily burn through thousands of dollar$ and not even have a usable lighting solution. From overpriced and over engineered light stands and background solutions to over powered lights and flashes.

I am always wary and on the lookout for these traps. For me the only thing worth  spending on is the best lens available for the job. Not even the latest and greatest camera body supersedes that.

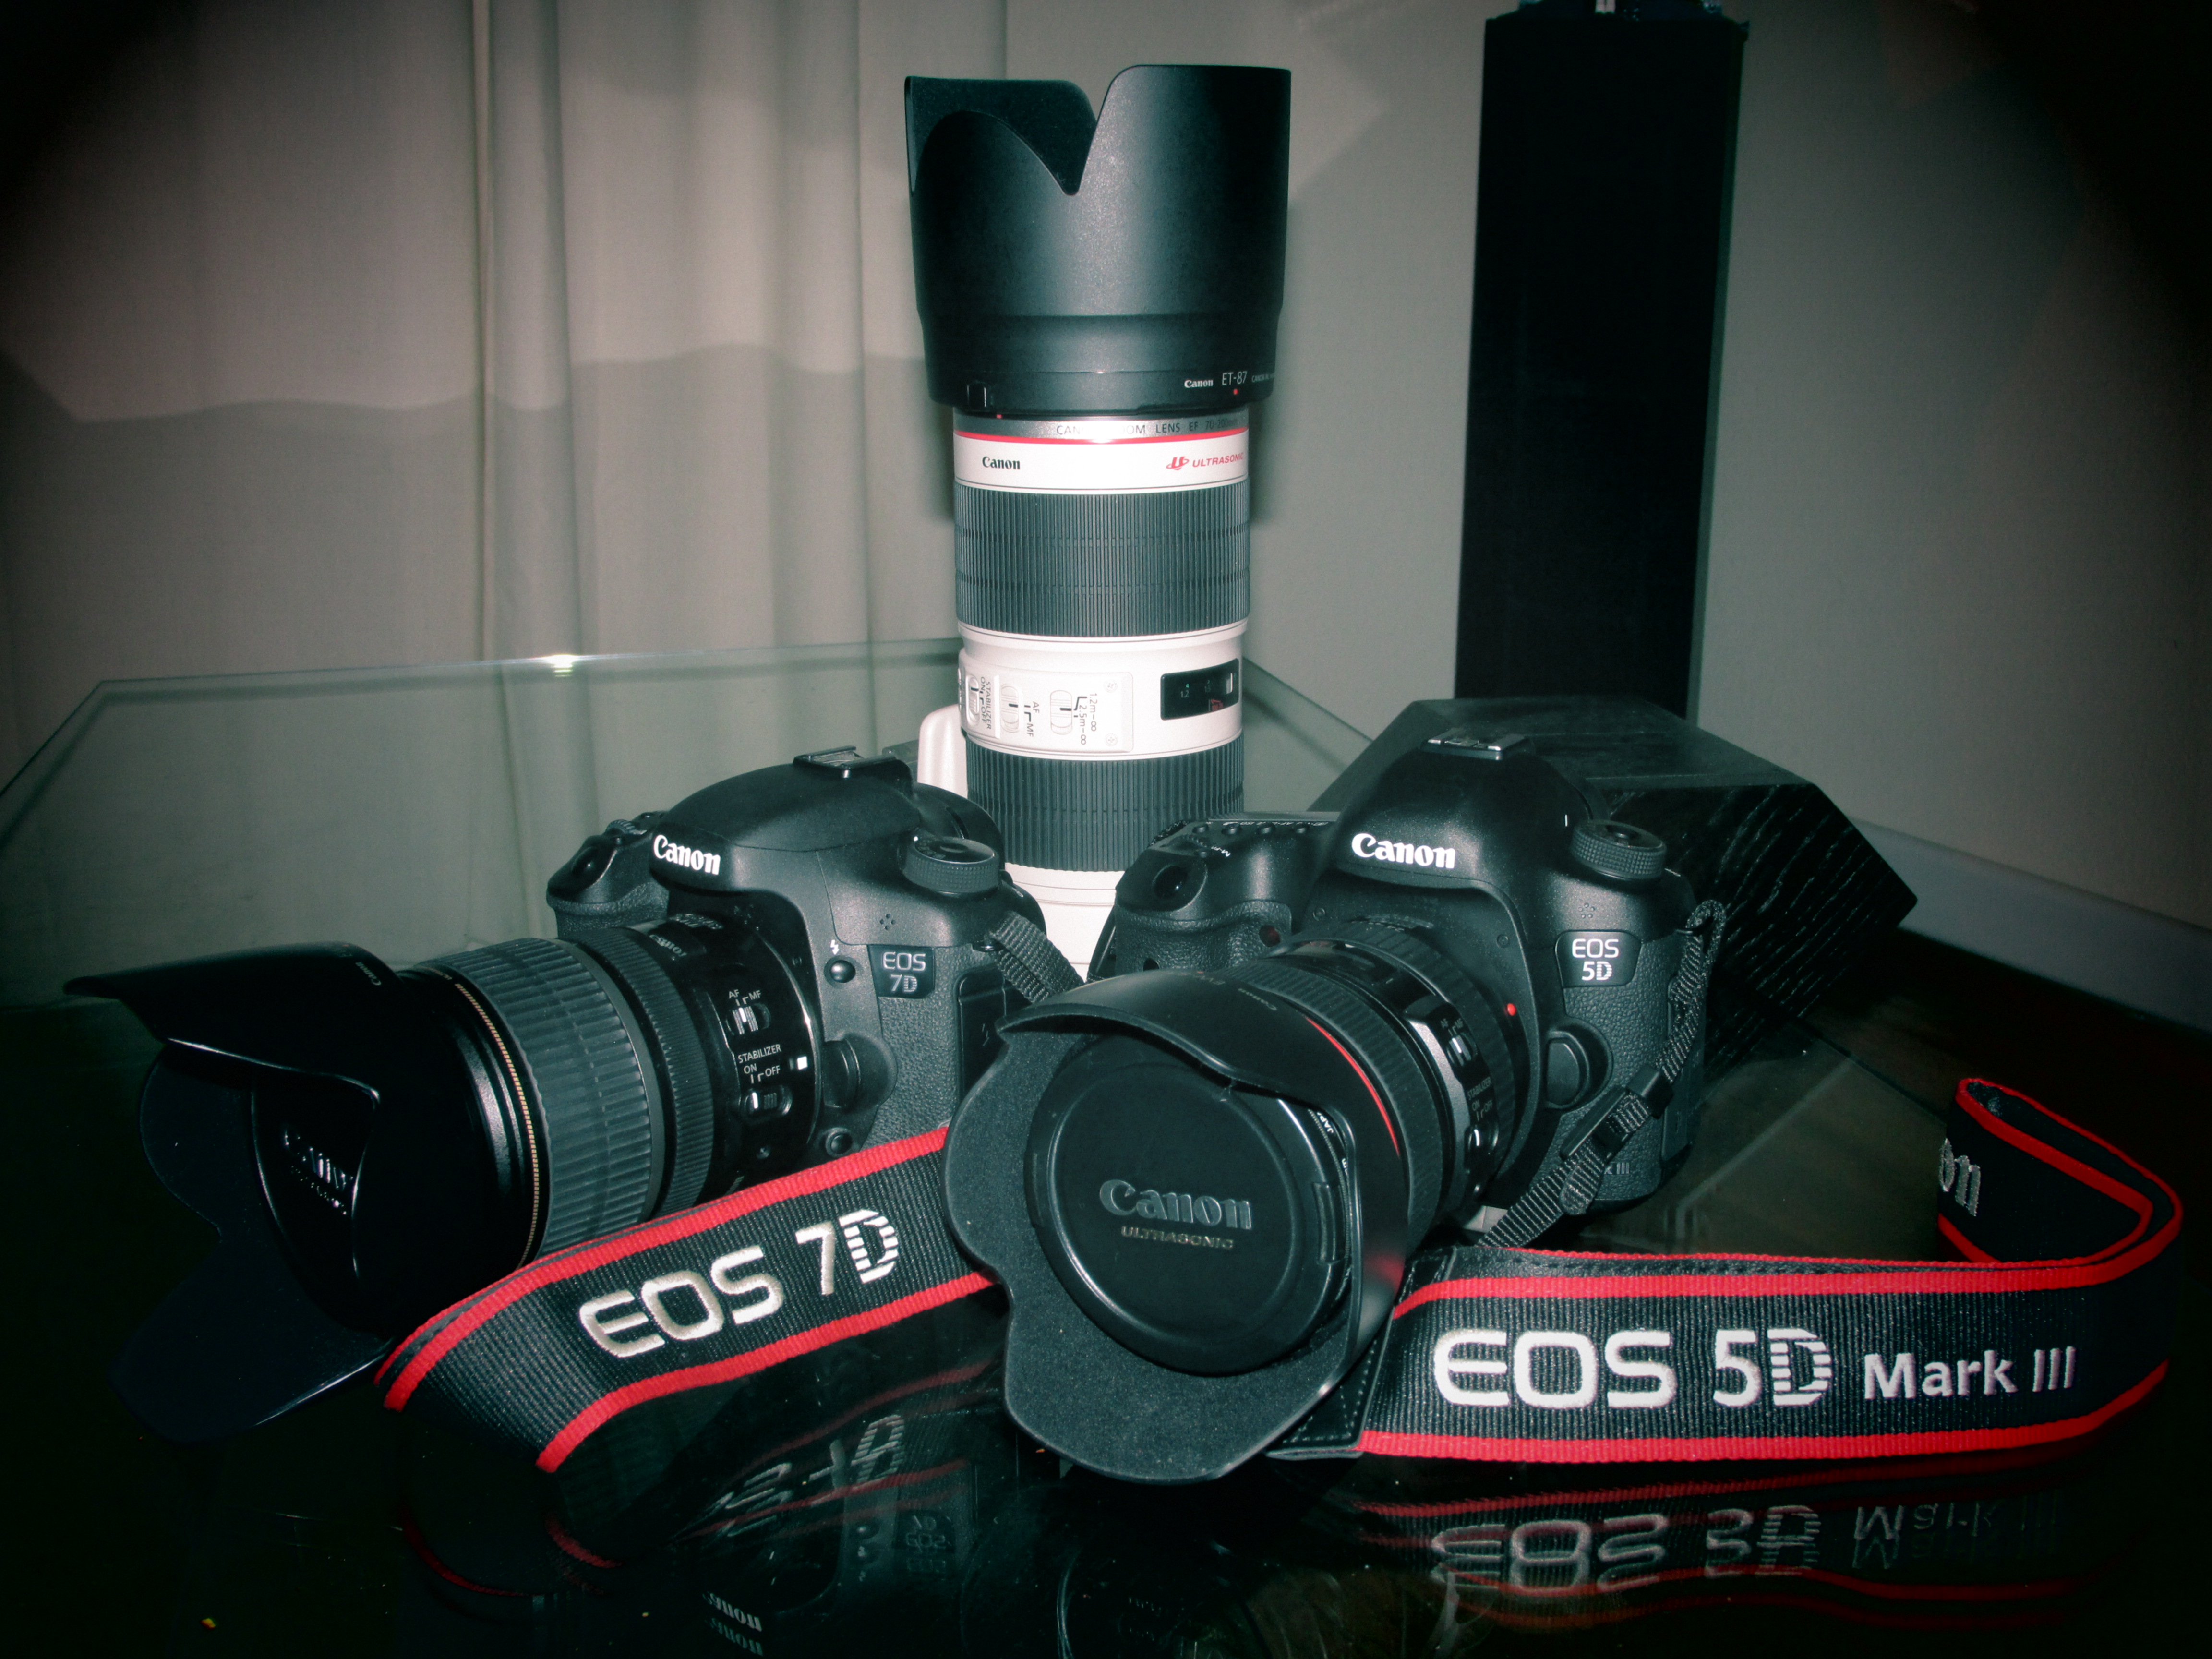
Earlier on I realized in order to completely side-step this whole charade, I would have to learn off camera flash photography. I had no desire to collect big bulky studio lights and oversize diffusers. At the time I had just purchased the Canon 7D shortly after it was released. It presented a tremendous value, even for the price back then. My lighting solution was and still is simple. I picked up two used Canon 430EX flashes and an Interfit Strobies kit. This is the kit that comes with a soft box, beauty dish, barn doors, and much more. The 7D has a built in ETTL wireless flash transmitter, so setting up and controlling multiple flashes couldn’t be easier. This is a feature I sorely miss in the Canon 5D Mark III however it has forced me to shoot not only full manual camera but full manual flash which I feel has definitely improved my photography.

For studio space, when shooting indoors in a controlled and private setting, I use my outdoor office space. I picked up a long wood closet hanger rod/beam and some wall mounts at Home Depot for under $20. I also bought a 9 foot wide roll of seamless background paper for around $60 and mounted it on the closet rod and voila! Spare workshop clamps and masking tape keep everything secured.

I often use both 430EX speedlites mounted on extra tripods (why buy a light stand you can’t use for anything else?). One with a soft box for fill lighting and the other with a more directional filter, like barn doors or honeycomb, etc for highlights. Both usually sit 90-180 degrees from each other and opposite elevations.

Below is a quick photo I took of my rough studio solution. You can see some shots from my first photo shoot with this setup here:

https://bryanallo.wordpress.com/2013/07/06/girl-with-the-phoenix-tattoo/
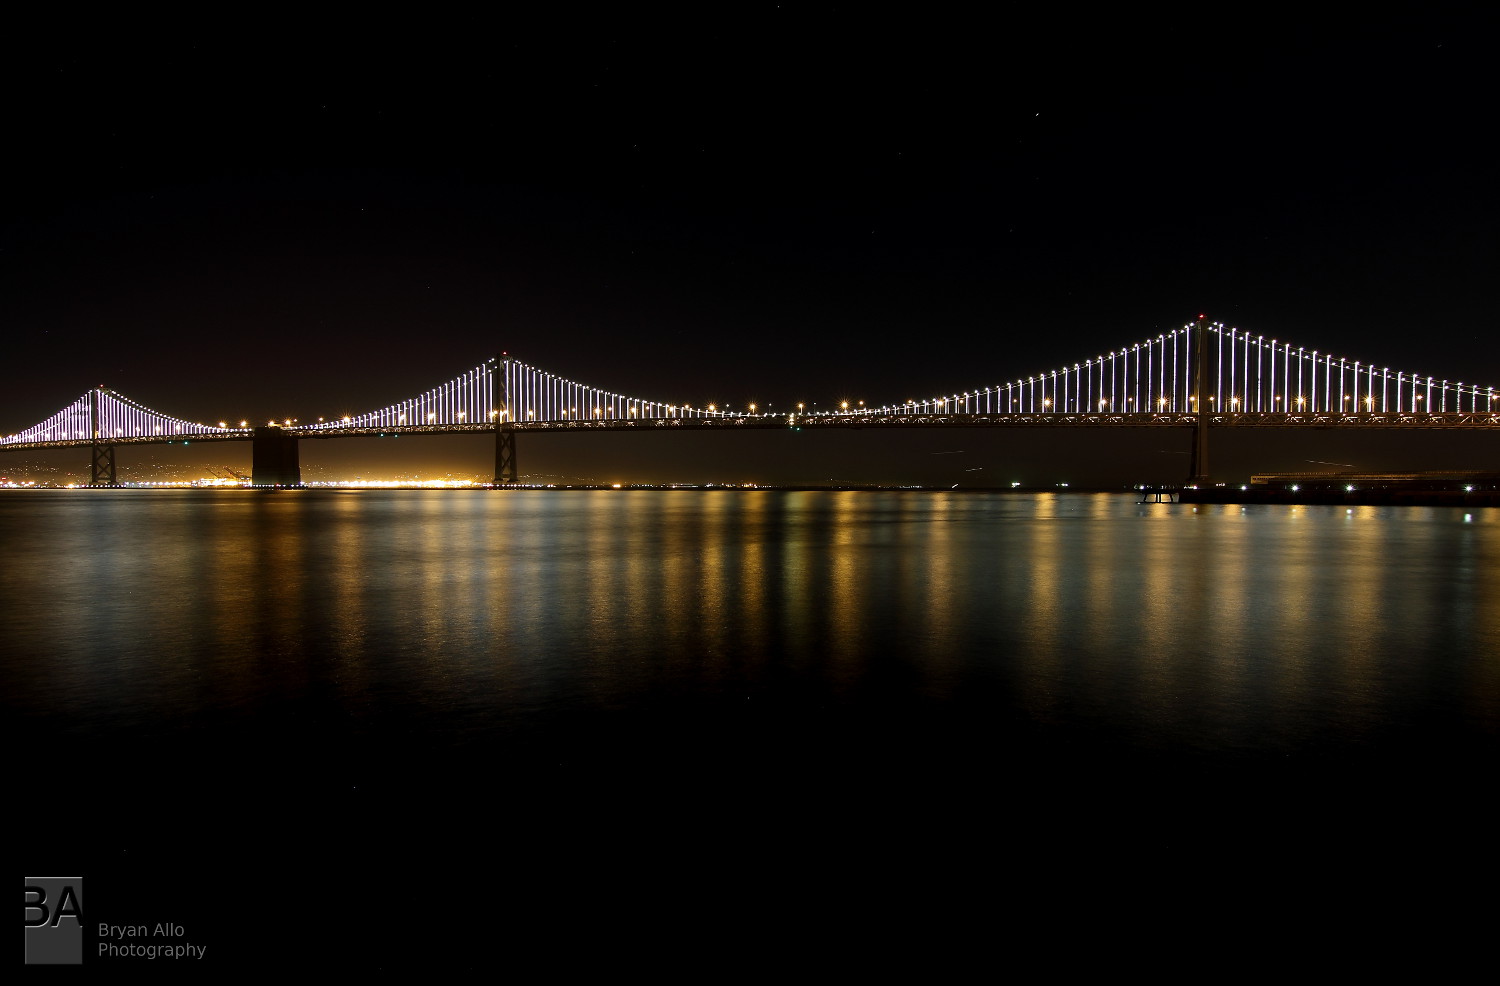
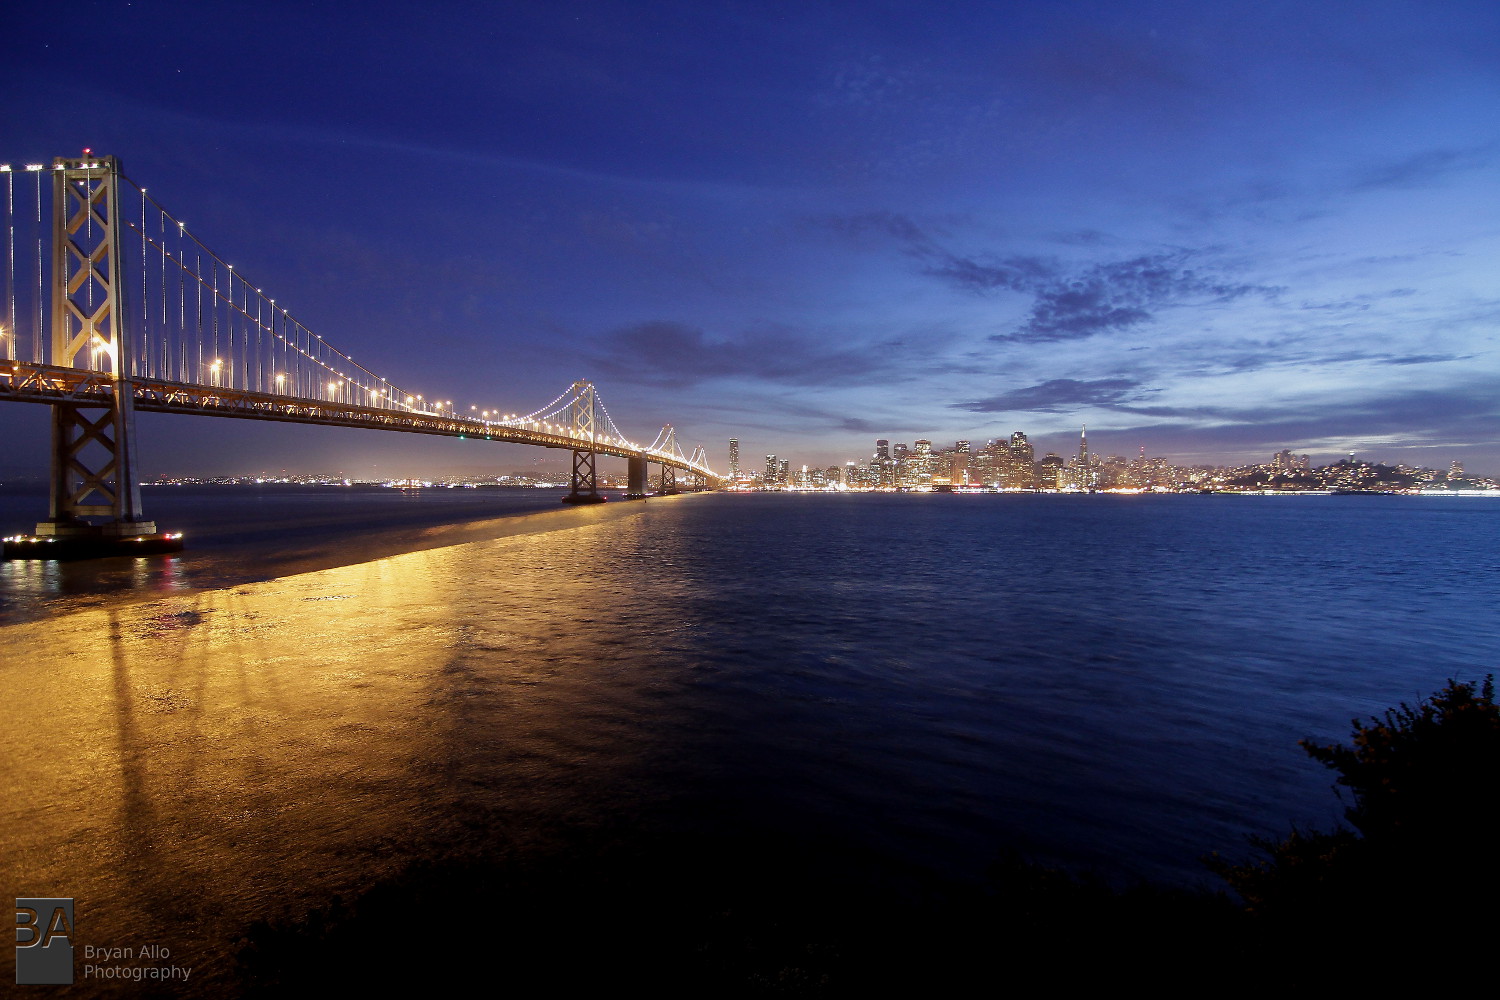
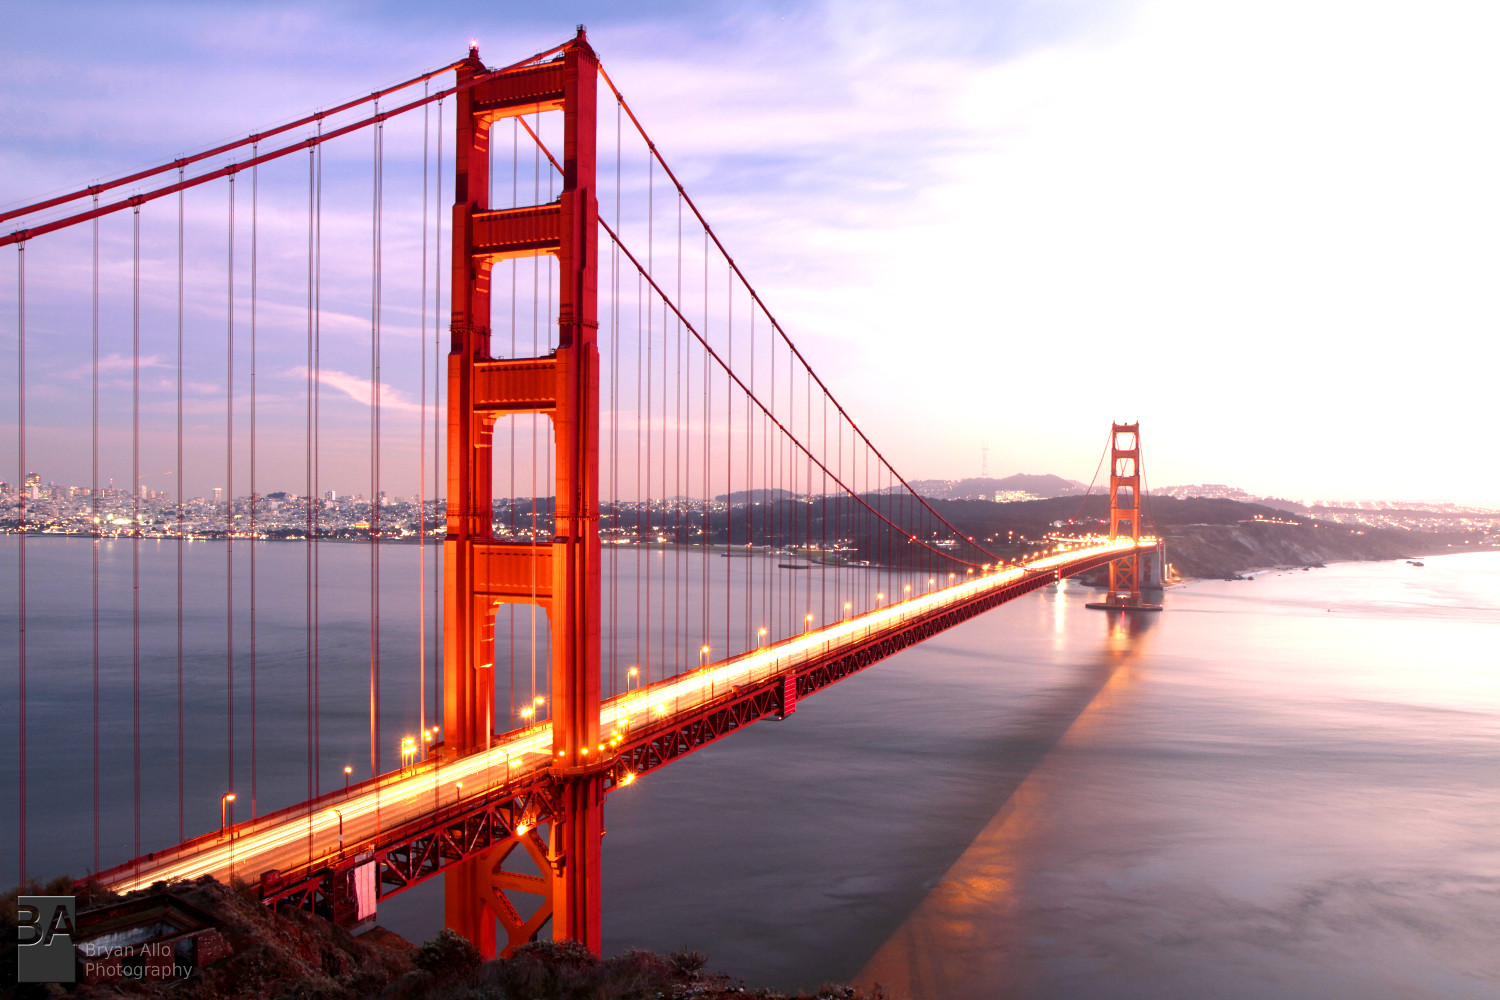
Studio on a budget

Studio on a budget

Share this:

  • Tweet
  • More
  • Click to share on Reddit (Opens in new window) Reddit
  • Share on Tumblr
Like Loading...

Memorial Day Weekend

Posted by Snob on May 28, 2013
Posted in: Architecture, Cityscapes, Landscape, Nature. Tagged: 11-16mm, 17-55mm, 5D, 7D, Canon, LG, mark III, Optimus, panorama, panoramic, Photography, river, sacramento, sunset, tokina. Leave a comment

Yesterday I managed to break away from the Memorial Day weekend duties for a couple hours. I grabbed my camera gear made a much needed escape to the old Sacramento Area along the river. I  noticed earlier in the day, we had very nice, picturesque, high altitude clouds. I thought they would make for spectacular colors during magic hour. Alas, by the time I got to the river banks and found a good spot, they had all dispersed. Never-the-less I captured the lights from the Delta King to the Tower bridge. I had been meaning to capture this view for a while now. These shots and time lapses will eventually go into a subject compilation for the city Sacramento and surrounding areas.

This time I broke habit and put the 5D Mark III on time lapse duty and used the 7D for panoramic and still shots. There were three reasons for this:

  • I could use my Tokina 11-16mm f/2.8 lens on the 5D to give me the ultra wide angle coverage I wanted for the time lapse which the 24-105mm f/4 L did not provide.
  • I could use my 17-55mm f/2.8 lens (only fits the 7D) to capture my Panoramic shots. This lens is still the best lens in my kit. Better than the 24-105mm f/4 L in all respects except build.
  • I was trying a slightly different approach to my time lapse settings which would benefit more from the 5D’s wider range of usable high ISO noise suppression. I shot in Shutter Priority (typically a No-No for time lapse) however with a twist. I set ISO to auto and used Max-ISO. I wanted to use a fixed shutter speed to ensure a consistent water motion and texture capture. This worked out quite well. I will shoot a few more time lapses to fine tune this technique.

Here is a quick shot I took of the view after setting off the 5D for time lapse and before getting the 7D ready for stills.

Test Pan1

I like the Panorama feature on my LG Optimus G phone which allows me to take a quick rough panoramic shot and edit it to determine if that location has the composition I am looking for. One of many tools I use to increase the rate of success of my shots. Below is my test pan shot from the 7D’s position.

TestPan2

And now for the final panoramic shot at magic hour. The lights didn’t quite come on as/when expected but then again nothing ever is as expected. I stitched this shot manually – like most of my panoramic shots, I find it’s just a better way to do it. It gives me much more control of my output. It’s worth the extra 15-30 minutes to get it right. The final shot is about 15,000 pixels and was down sampled here to about 3,400 pixels for sanity’s sake :-). The 17-55mm f/2.8 lens’ ultra sharp optics and the 7D’s high pixel density was able to resolve and render pictures hanging on the walls inside the Delta King’s dining room. This was at a focal length of 35mm! This is the reason I will be keeping and using the 7D for years to come – with the right lens, it has some serious resolving power.

Click the image for the larger version.

Old Sacramento at Sunset

Old Sacramento after Sunset

I will publish the final time lapse composition in another post.

Thanks for stopping by and sharing.

Share this:

  • Tweet
  • More
  • Click to share on Reddit (Opens in new window) Reddit
  • Share on Tumblr
Like Loading...

Time Lapse – The Bay Bridge Lights

Posted by Snob on April 26, 2013
Posted in: Architecture, Art, Cityscapes, Landscape, Time Lapse. Tagged: Architecture, arts, Bay bridge lights, san francisco, sunset, time lapse, transportation, video. 3 Comments

Finally got all the TL frames processed – all 7500 of them LOL. The frames were shot over two photo excursions to the San Francisco Bay. I posted earlier about these two trips here:

https://bryanallo.wordpress.com/2013/04/21/san-francisco-bay-bridge-lights-2/
https://bryanallo.wordpress.com/2013/03/29/san-francisco-bay-bridge-lights/

It took me a while to find a soundtrack that channeled (or at least came close) the energy of the experience for me. The music is composed by Ben Beiny. The Bay Lights are a wonderful art-meets-technology showpiece. If you haven’t visited San Francisco since it’s installation, I highly recommend a trip to the city. If you are too far or cannot visit, then hopefully this video will give you a decent idea of it’s scale. You can also find out more about The Bay Lights and the artist behind them – Leo Villareal – at the following link:

http://thebaylights.org/

Thanks for stopping by and sharing. Be sure to view it in Full HD – 1080p for the most detail.

Share this:

  • Tweet
  • More
  • Click to share on Reddit (Opens in new window) Reddit
  • Share on Tumblr
Like Loading...

San Francisco Bay Bridge Lights

Posted by Snob on April 21, 2013
Posted in: Architecture, Cityscapes, Landscape, Time Lapse. Tagged: 5D, 7D, Bay bridge lights, san francisco, sunset, the bay lights. 1 Comment

Yesterday was another lovely day chasing sunsets and the Bay Bridge lights. I decided to seize the opportunity presented by ideal photography weather conditions in the Bay Area. Most ideal was the low (sometimes none) wind speed. This means very calm bay waters, relatively speaking, which in turn means an opportunity for a dramatic light show through sunset and through the night.

The Port of Oakland

My strategy started out with the port of Oakland. From a google maps survey of the area, most of it looked restricted so I looked for a backup vantage point and settled on Potrero Hill which may warrant my next photo excursion to SF. I was unsure about how much access I would have to a coveted view of the bay. I definitely wanted to at elast have some shots from the Oakland side of the bay, especially during sunset. I arrived at the port by mid afternoon and began to scout the area. Portview Park was my ideal view but it was slightly obstructed by the restricted docks area – I wish I had a way of gaining access to the port docks. That in and of itself would make for not only an ideal perspective but may prove to be a treasure trove of industrial  and gritty photography goodness. I moved on to Middle Harbor Shoreline Park where I found an outcrop nature preserve with trail access. The view was a bit too distant and less than ideal but then again if I’ve learned anything, it’s that nothing ever is.

With my location sorted out I proceeded to wolf down a Subway sandwich while waiting for the sunset. I parked next to a really nice, clean Nissan 300ZX. Being a car enthusiast myself I began to talk cars with Allan the owner. I drove down in my roadster so it was all around cartalk. Allan was very laid back, easygoing and ended up just handing out through the sunset into the evening. Very nice guy. While I was setting up and shooting another great gentleman showed up. He was a port customs agent who just happened to carry his Digital Rebel everywhere he went. He had just got off work and decided to come take in the view as well so we all hung out and talked everything from cars to logistics to photography while shooting the sunset. It made for a great evening and great new friends.

SF Sunset

I took a 2 hour time lapse of this scene with the 7D + 17-55mm f/2.8 while shooting stills such as the one above with the 5D Mark III + 24-105mm f/4. It will take a while to process all the time lapse frames and will present that compilation in a separate post. Unfortunately the Bay Bridge lights were not visible from this vantage point. It turns out the lights are angled slightly towards the city of San Francisco. I later found out this was for the simple reason to avoid interfering with drivers’ view coming into the city.

The Bay Bridge Lights

Finally after dark we all packed up and left. I headed over into SF to do another time lapse from the peer 14 perspective. There I met more interesting folks. First was a cool guy named Brian visiting from Chicago. He’s into photography and cars/hotrods as well, so you can pretty much guess what we ended up talking about all night out there on the peers. I took two time lapses of that view as well while shooting stills, HDR shots, panoramic shots and several 1080p video takes of the bay lights to capture the more subtle action that would otherwise be missed in the time lapse. I ended up shooting late and into the early morning when yet another pretty cool laid back guy by the name of James stopped by for a chit-chat. I got a lot of good tips on accessing some vantage points I’ve been wanting to shoot for a while now. Very nice guy. In all it was a great SF excursion, with lots of great people and a really relaxing time in a great city.

Bay Bridge Lights

I did time lapses of both scenes above and below as well. Will post those once I’m done processing all the frames.

Bay Bridge Lights

Share this:

  • Tweet
  • More
  • Click to share on Reddit (Opens in new window) Reddit
  • Share on Tumblr
Like Loading...

DIY time lapse track and dolly with LEGO Mindstorms NXT

Posted by Snob on April 3, 2013
Posted in: Time Lapse. 3 Comments

Finally finished my DIY (do it yourself) time lapse track and dolly setup. I started this little (not so little) project last fall but stalled as the cold winter set in and I didn’t have good reason make use of it with the cold months. There were a few ideas driving my final design. I wanted the cheapest possible solution as this was meant more for my personal projects and would not be used for any paid projects. I also limited myself to using readily available components around my workshop and home. Buying a ready made solution was too costly. Most DSLR time lapse track/slider rigs were starting at over $1000. I’ve seen a lot of DIY solutions out there but honestly they just seemed too unnecessarily complicated with PLCs, Arduinos, Raspberry Pi, custom PC boards etc.

I do have a background in Electronics Engineering and a Software Engineer by profession so I am by no means intimidated by the various DIY solutions I found nor did I find them unapproachable. However I just felt that they would only serve to derail my passion for photography at the time. I have only a limited amount of time to explore my creative photography projects and I simply did not want to spend it tinkering with circuits.

With that said all I wanted was a somewhat sturdy track that was longer than the 3-4ft tracks I was seeing out there. I felt this would make for more dramatic slides/pans across a scene. I settled on a simple design using two 8ft Aluminum L-channel  beams and some square tubes  with butterfly/wing nuts and bolts so I could disassemble and haul it around fairly easily in my Nissan Murano.

As for the drive mechanism I eventually realized the LEGO Mindstorms set I had laying around unused was exactly what I needed to drive the dolly. It also came with 3 very capable stepper motors which when combined with the very simple but advanced LEGO Mindstorms program/design/robotics software allowed me to control the movements with great accuracy and precision.

The only hack I did was to reverse engineer the wiring and set one of the motor ports to drive two simple relay switches that would in turn drive the shutter release/remote for my DSLRs. I could also program the relay activation duration and intervals to accommodate single shot lapse or HDR bracket shots. The computer brick also packed enough power to crank out multiple hour time lapses, one after the other, all weekend long.

It is far from perfect; there are already several changes I would like to make to the drive setup but for the most part it works great and delivers suprisingly good shots for how much I have invested in it – about $240 (I bought the Mindstorms NXT set at a $140 bargain and spent about $100 on Aluminum, nuts, bolts and bearings). Below is a short video of my first test run and the compiled time lapse. I think it’s funny how slapped together the solution is, but I can’t argue with the results…LOL.

Share this:

  • Tweet
  • More
  • Click to share on Reddit (Opens in new window) Reddit
  • Share on Tumblr
Like Loading...

San Francisco Bay Bridge Lights

Posted by Snob on March 29, 2013
Posted in: Architecture, Cityscapes, Landscape, Time Lapse. 1 Comment

I’m excited. I finally got around to finishing post processing on all the frames I shot for a time lapse of the SF Bay Bridge at sunset last Sunday. I took about 4000 shots between both the 7D and 5D MkIII. Each set should yield about 1 minute of time lapse footage covering the 30 minutes before and after sunset. I stretched the enterval on the 7D and set it run for two hours at 4 second intervals which also yields about a minute of footage.

While I have done tons of time lapses before every one is different. No two lapses are the same. Especially under changing light conditions which makes it very tricky to predict what the light conditions will be at the end of your lapse period and what kind of exposure will the camera need at what ISO and aperture, in order to keep up with the intervalometer. It’s a different kind of photography.  It also forces you to drop the details and focus on the big picture. I like that I can crank up to ISO-1600 and not have to worry about the effects of noise because it is of very little consequence to the end result. In contrast I don’t like that I have to leave my aperture wide open in anticipation of a low light scene and shutter speed limited by my interval. This always creates a softer image. Enter post processing and Canon DPP.

Changing light conditions also introduce my biggest peeve – flickering frames. As the light in the scene changes the camera (in AV mode) constantly tries to meter the light and when it approaches  every stop of exposure it tends to dance back and forth before committing to the new value in the sequence. Up until recently I had no way of correcting this without expending tons of cash for software licenses. I recently found an Open Source solution (right up my alley) called VirtualDub and so far it’s doing a really good job of taming my sunset/sunrise time lapse frames. VirtualDub will definitely require a separate post or posts. For this lapse, I used partial metering instead of evaluative metering. This greatly reduced frame flicker. One of the many measures I’m experimenting with to reduce the amount of work in post processing.

Below are sample mid-sequence frames from last weekend’s exploits. The Tokina is a little soft on the edges but most of the blur was due to the wind which picked up considerably as the evening progressed. One of the many nuances of SF. I hiked through some sketchy parts to get this view. Sometimes I wonder if I’ve gone crazy.

7D + Tokina 11-16mm f/2.8

_MG_1174

5D Mk-III + 24-105mm f/4

9Q1A2968

Share this:

  • Tweet
  • More
  • Click to share on Reddit (Opens in new window) Reddit
  • Share on Tumblr
Like Loading...

Canon 5D Mark III vs 7D

Posted by Snob on March 27, 2013
Posted in: Camera, Reviews. Tagged: 5D, 7D, cameras, Canon, gadgets, Photography, technology. 9 Comments

UPDATE: I posted more thoughts on this subject and a reader’s comment Here.

So I just remembered tonight there was a full moon. I hurriedly pulled out my camera gear (it was already close to 10:30pm) and headed for the back yard. There were some nice clouds passing over the moon and I thought it should make for a great time lapse. Then wondered what camera should I use?? I remembered the 7D and my 70-200mm f/2.8 IS II gave me a spectacular image with the ease of a point and shoot. But that was over a year ago and now I have the 5D Mark-III. But then I thought it’s full frame sensor meant less coverage of the point in the sky (moon) I was trying to photograph. But it had a technically superior sensor and higher overall resolution. I thought this might be enough to match the high pixel density of the 7D.

I was wrong. This was one of the classic examples of a situation where the 7D is just a way better camera for the job hands down. Both shots were at f/4, ISO-100 and 1/1000 second. AF on and IS on (mode 1). At ISO-100, there was no advantage to the newer 5D Mark-III sensor. Both were right at home with the higher shutter speed. AF was spot on and on the 7D seemed a hair more confident/quicker than the 5D Mark III. Yes, I know the DIGIC5 processor is supposed to be 17x faster than the DIGIC 4 but as a software engineer I’m pretty sure having a processor dedicated to AF (7D has Dual DIGIC4 Processors) means parallel AF processing. In real life it’s either a wash or still a better performing configuration than a single DIGIC5.

This simple quick and rough test just confirmed my suspicions and what I’ve always tried to explain to some fellow photo geeks. Just because it’s a full frame camera does not necessarily mean it captures more detail in the true technical sense. The comparison here shows the 7D delivering the full moon with easily 2 times the number of pixels the 5D Mark-III and with similar clarity and sharpness using the same lens and settings.

I still maintain, for most other general scenarios and large field of view the 5D Mark-III will yield a superior image. However the 7D with it’s considerably higher pixel density will always yield much more detail (in this case, twice the detail). This is one of the many real life, real world scenarios that no ISO-Chart, spec sheet regurgitating blogging, rent-a-camera-for-a-weekend-reviewer will ever tell you. If you haven’t yet figured it out, I pretty much loathe most of the talking/blogging heads on the web just echoing whatever everyone else says.

This is one reason why I still hang onto my 7D. It is an amazing camera system. However it is imperative that a 7D owner only mount the best lens optics that money can buy because of the unforgiving and  high pixel densities. The key is to know your shooting style, know and understand your camera system to make full use of it’s potential.

7Dvs5D

Yes I do own both camera systems and actively shoot both.

5D7D

Share this:

  • Tweet
  • More
  • Click to share on Reddit (Opens in new window) Reddit
  • Share on Tumblr
Like Loading...

Old Sacramento at Sunset

Posted by Snob on March 12, 2013
Posted in: Architecture, Landscape, Time Lapse. Tagged: sacramento, sunset, time lapse. 2 Comments

What I enjoy most about photography is that I never really know what beauty awaits, but I do know when it arrives, I’ll be there to take it all in.

My day was done early and I had been having a little bit of an itch to capture the sunset with a time lapse. I also hadn’t taken my 7D out since I got the 5D Mark III. So I decided to head down to Old Sacramento to explore a nice vantage point to take in the view, lights and changing colors of the sunset. This was the main reason why I bought a second body, so I can pull double duty on my photo outings. During the last few years I’ve found myself  having to make several trips to the same location just to capture my stills and time lapses. Add to that unpredictable weather and it becomes quite expensive to get the shot I want.

I set the 7D up for the time lapse and let it run, while I took my time soaking up the view and trying various takes on the scene with the 5D Mark III.

Here is a shot from the 5D Mark-III. I used the in-camera HDR which works quite well actually.

9Q1A1098

Here is the composed time lapse from the 7D. I probably should have let it go 20-30 minutes longer to soak-in the night lights, but not bad for a random evening. You can view full screen and full HD at 1080p for full detail and effect. Enjoy.

Share this:

  • Tweet
  • More
  • Click to share on Reddit (Opens in new window) Reddit
  • Share on Tumblr
Like Loading...

Lake Tahoe Winter Sunset

Posted by Snob on January 20, 2013
Posted in: Landscape, Nature. Tagged: lake, sunset, tahoe. Leave a comment

Having bit the bullet on the Canon 5D Mark-III that week, a photo outing was definitely in order. I called up my go-to fellow photography buff Mr. Steve Phang. We’ve had many great experiences and adventures shooting. With clear skies and no snowfall, we decided to head up the hill to Lake Tahoe and attempt to get a few magical sunset shots. If history has taught me any lesson, it’s that you never get the shot you set out to capture. This trip was no exception, however it did yield a few treats.

Coming from over 3yrs of shooting with the 7D, the 5D was a natural extension albeit with a greater degree of customizing. I shot mostly with the 24-105mm f/4L kit lens and Steve’s 17-40mm f/4L super wide lens. The image clarity was staggering and impressive to say the least. We had a bit of a challenge shooting with the clear skies however, as the sun was just too bright – often too bright even for an HDR shot to fix – and with no clouds to diffuse some of the sunlight it was a frustrating afternoon. Here are the highlights from this outing.

Tahoe HDR2
Tahoe HDR5
Tahoe HDR3

Share this:

  • Tweet
  • More
  • Click to share on Reddit (Opens in new window) Reddit
  • Share on Tumblr
Like Loading...

San Francisco – The beginning of a love affair

Posted by Snob on December 15, 2011
Posted in: Architecture, Cityscapes, Landscape. Tagged: bridge, gate, golden, san francisco, sunset. Leave a comment

Going back through my archives and posting about some of my photo outings has been a very insightful process thus far. This photo marks the beginning of my love affair with the city of San Francisco. I never really bothered with it until I started looking at it through the lens and the eye of a photographer. It is indeed a treasure trove of beautiful sights and scenes – enough to keep anyone busy for years to come. Since this shot, I have visited the city countless times and logged thousands of miles and hundreds of hours just exploring the entire SF Bay Area. It is here that I truly began to appreciate the journey I began years ago when I started taking photography serious.

This shot was taken with my 7D and EF-S 17-55mm f/2.8 IS USM lens with a circular polariser. Some folks like to say you can’t do landscapes with an APS-C (crop) body. I think they’re just using using the wrong lens for the job. This lens is amazing, a perfect match for the 7D and second only to the best of Canon’s L-lenses in optical performance and image stabilization.

Golden Gate Bridge

Share this:

  • Tweet
  • More
  • Click to share on Reddit (Opens in new window) Reddit
  • Share on Tumblr
Like Loading...

Posts navigation

← Older Entries
Newer Entries →
  • My Top Posts

    • Review: Canon 300mm f/2.8 vs 400mm f/2.8 - Part 1
      Review: Canon 300mm f/2.8 vs 400mm f/2.8 - Part 1
    • Antwerpen-Centraal railway station, Belgium
      Antwerpen-Centraal railway station, Belgium
    • San Francisco from Berkeley hills
      San Francisco from Berkeley hills
    • Review: Canon 300mm f/2.8 vs 400mm f/2.8 - Part 2
      Review: Canon 300mm f/2.8 vs 400mm f/2.8 - Part 2
  • Connect on FaceBook

    Connect on FaceBook
  • Follow PhotoSnob on WordPress.com
  • Enter your email address to follow this blog and receive notifications of new posts by email.

    Join 554 other subscribers
  • Archives

    • November 2019
    • October 2019
    • February 2019
    • December 2018
    • November 2018
    • August 2018
    • April 2018
    • March 2018
    • January 2018
    • October 2017
    • September 2017
    • June 2017
    • May 2017
    • February 2017
    • December 2016
    • July 2016
    • June 2016
    • May 2016
    • January 2016
    • December 2015
    • November 2015
    • October 2015
    • September 2015
    • July 2015
    • June 2015
    • May 2015
    • April 2015
    • March 2015
    • February 2015
    • January 2015
    • December 2014
    • November 2014
    • October 2014
    • September 2014
    • August 2014
    • July 2014
    • May 2014
    • February 2014
    • January 2014
    • December 2013
    • November 2013
    • October 2013
    • September 2013
    • August 2013
    • July 2013
    • May 2013
    • April 2013
    • March 2013
    • January 2013
    • December 2011
    • August 2010
    • May 2010
    • May 2009
Blog at WordPress.com.
PhotoSnob
Blog at WordPress.com.
  • Subscribe Subscribed
    • PhotoSnob
    • Join 107 other subscribers
    • Already have a WordPress.com account? Log in now.
    • PhotoSnob
    • Subscribe Subscribed
    • Sign up
    • Log in
    • Report this content
    • View site in Reader
    • Manage subscriptions
    • Collapse this bar
 

Loading Comments...
 

    %d