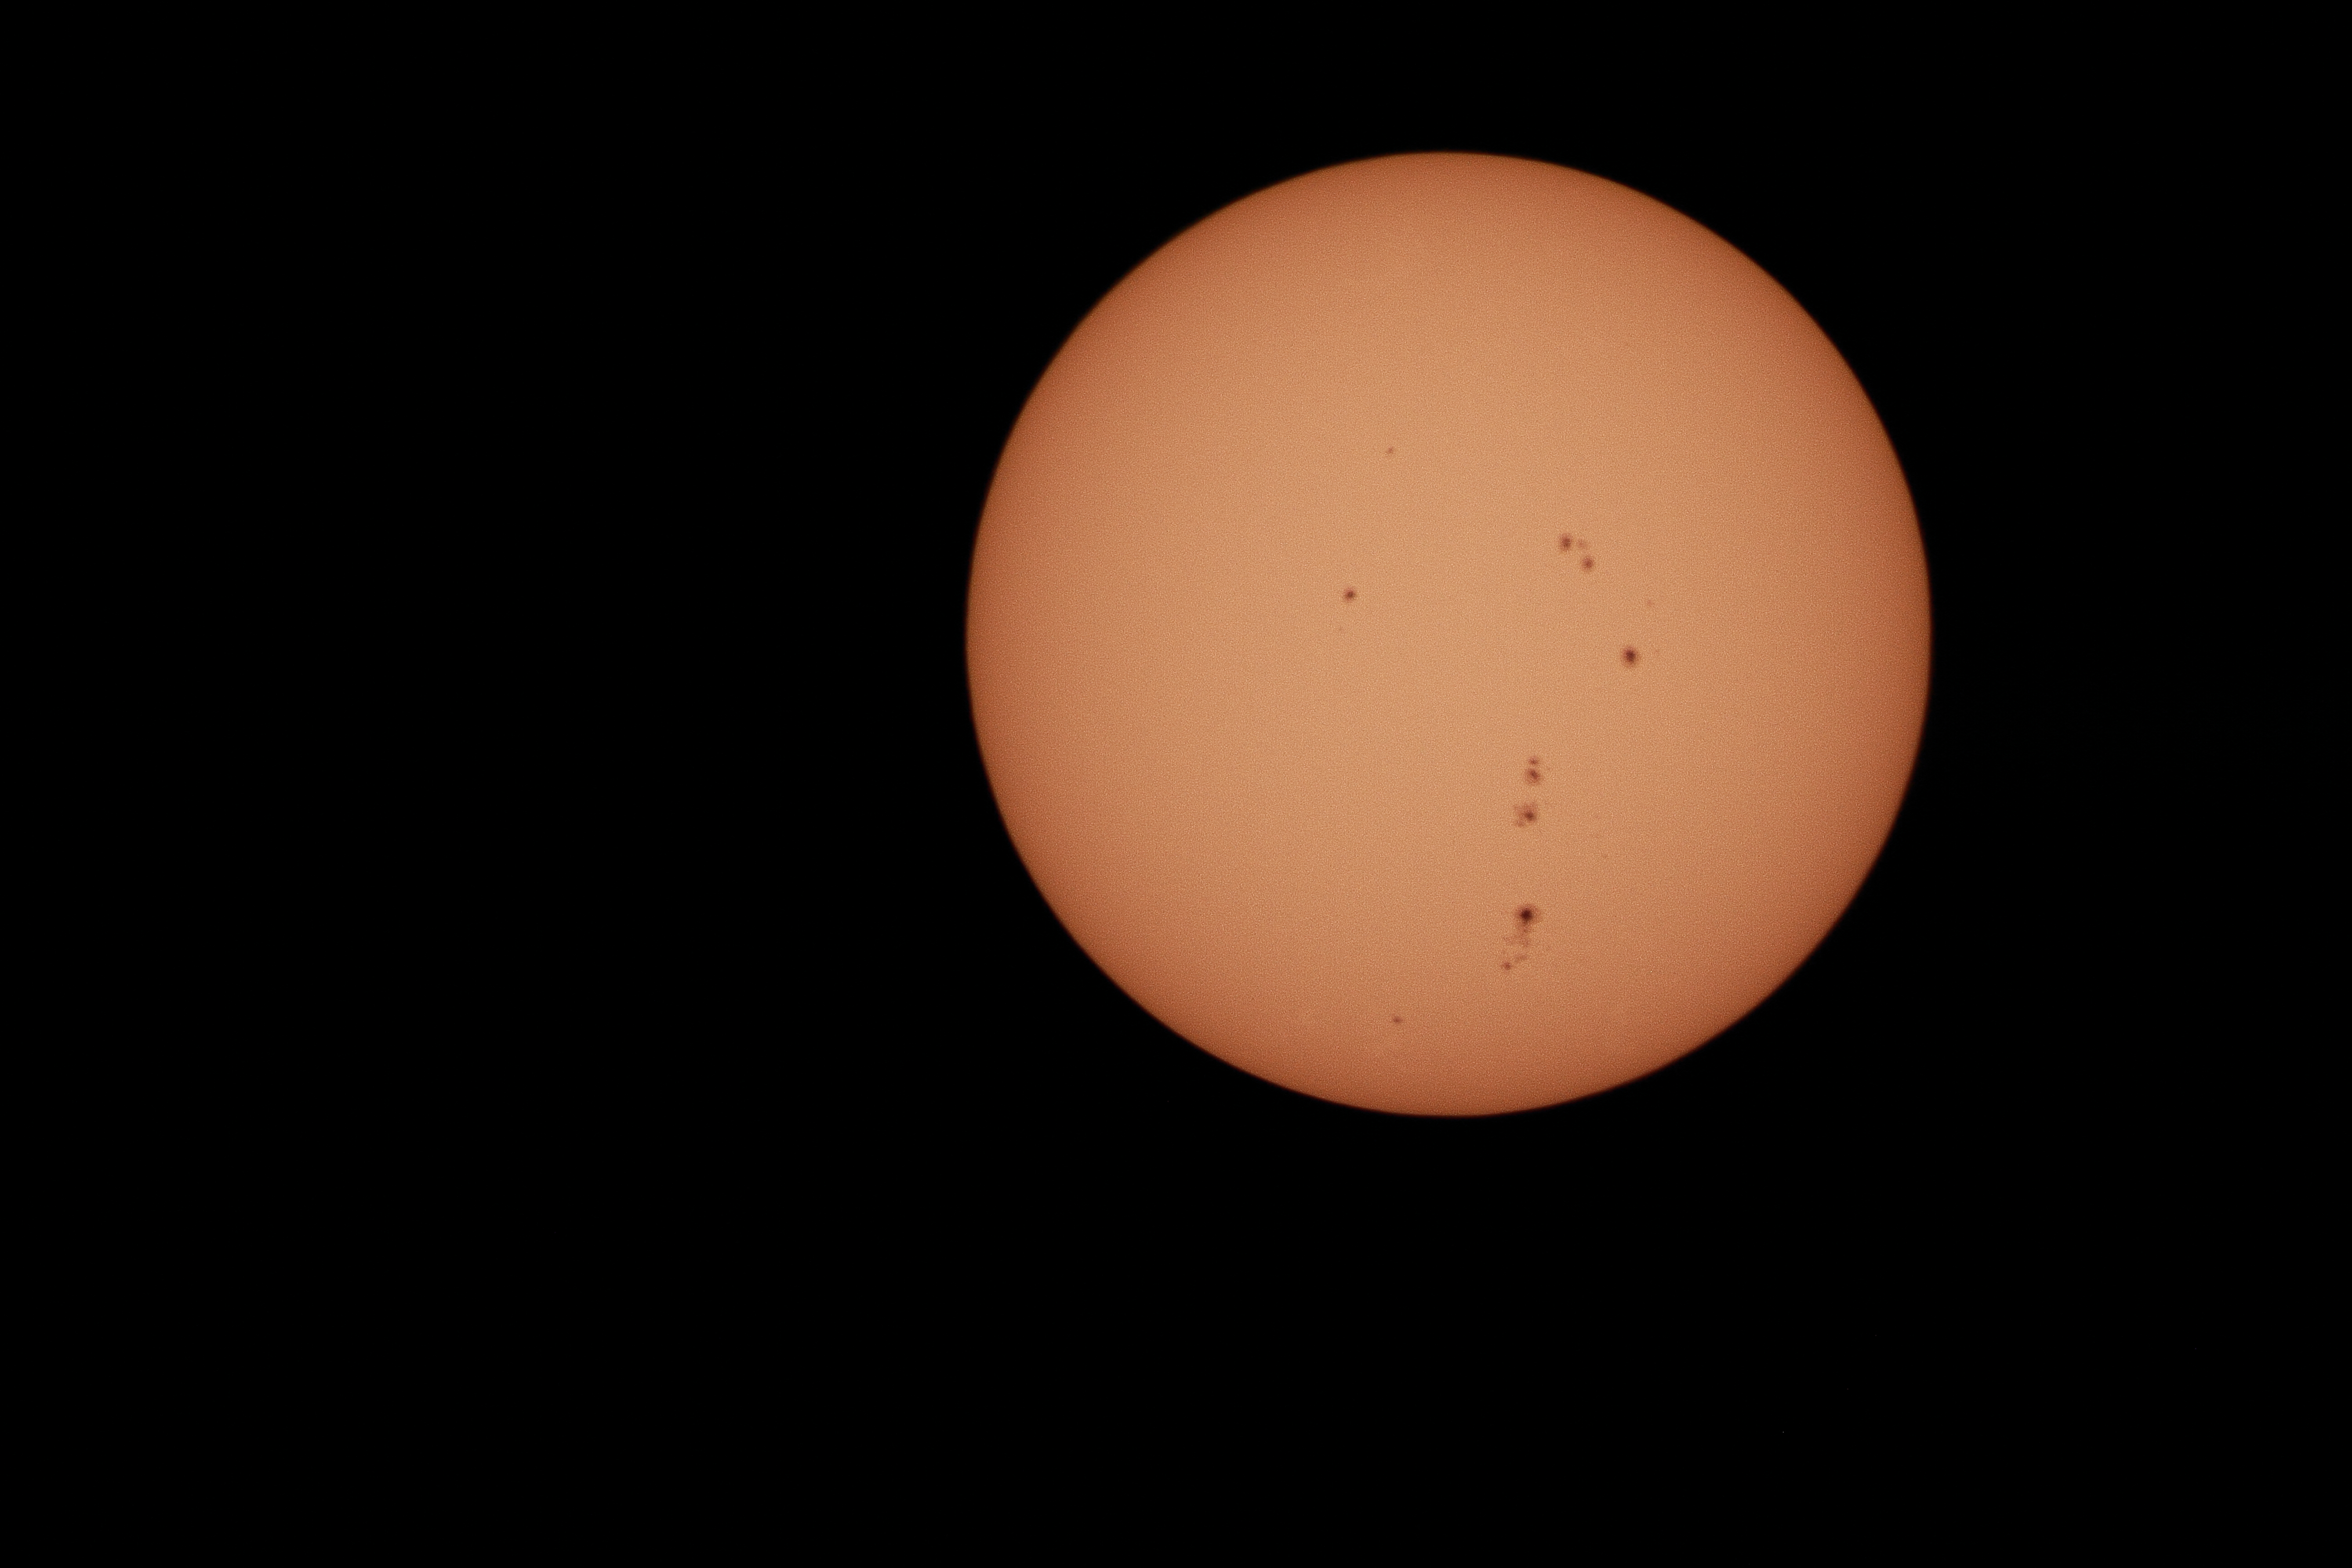
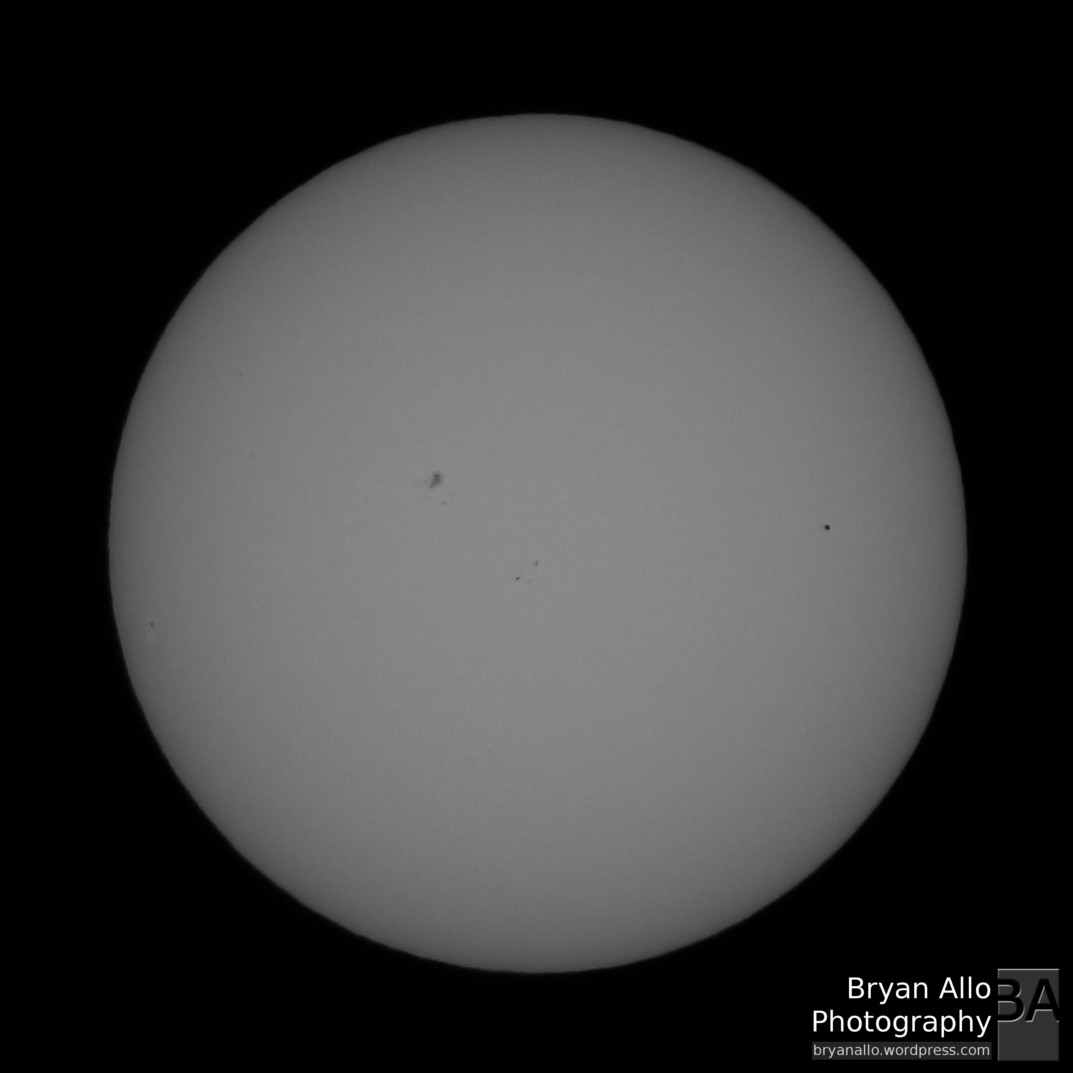
Can you spot Mercury? In case you missed it there is still about an hour left in today’s celestial event. Today Mercury transits the Sun. The next time this occurs will be in 2019. I did consider setting up the telescope and camera for some close-up shots and even doing a time lapse, however the transit started before sunrise here on the West Coast in California so by the time the sun cleared the horizon, the transit was well under way. Hopefully I’ll have better luck next time in 2019.
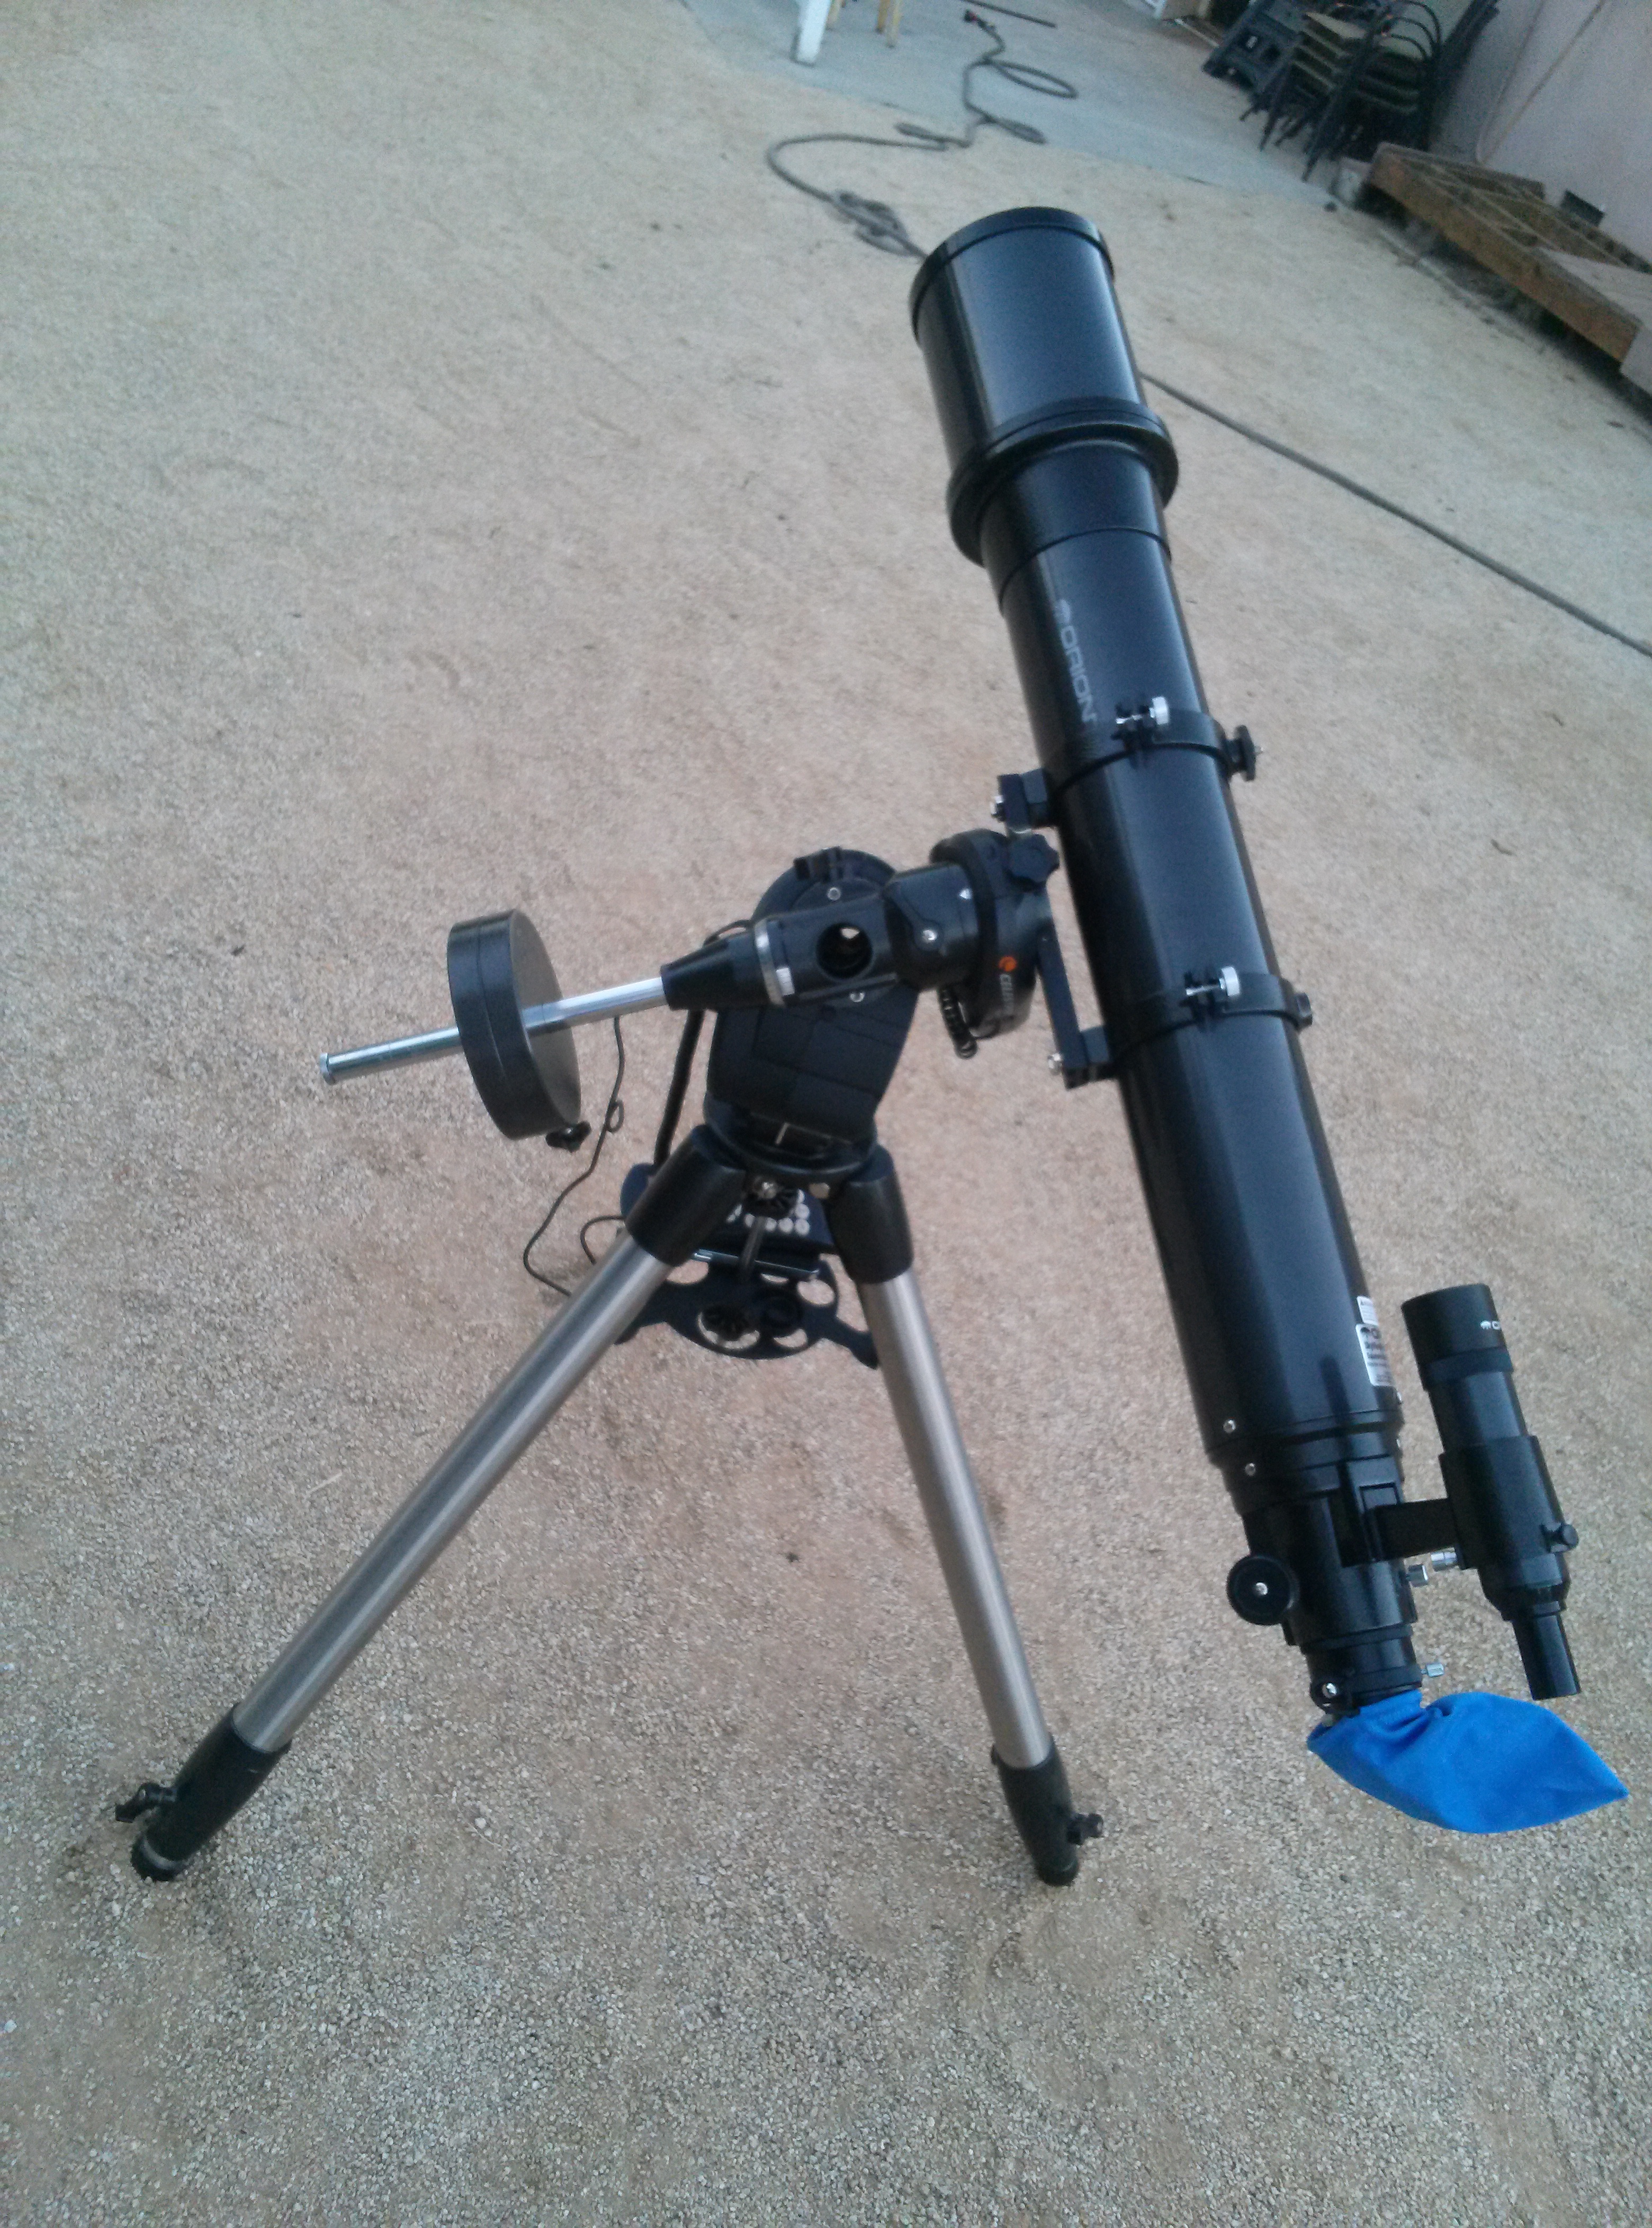
None-the-less I had to at least get a few shots for my archives. For this shot I used the Canon 7D Mark II + EF 70-200mm f/2.8L IS II lens with the EF 2x Extender III for an effective focal length of 400mm. I also stacked one 10-stop filter and two ND4 neutral density filters in front of my lens and I could still barely look at the sun at f/13. Please always exercise the utmost caution when observing the sun. A split second mistake could lead to instant blindness!
For more information on this event you can check out this NASA Page.
I tried to capture the previous Blood Moon earlier this year in April, however it was not a very fulfilling exercise. There was only so much I could do with the Canon EF 70-200mm f/2.8L IS II USM lens, even with the EF 2x Extender III attached and even with the 7D’s crop factor. The shots I got weren’t very pleasing and in my mind, not even worth writing a post about.
Up until last night I had been dreading the steep learning curve and painful process involved in learning to properly align a German Equatorial Mount with computerized tracking. The Blood Moon was a good reason to dive into it and see if I could figure it out. I got an early start. My first setup and calibration took at least an hour and I got a solid track on the moon.
However the moon had not yet crossed the sky and when it did I had to re align the telescope mount. My second alignment took half the time but was less than perfect and I still had some drift. It was still small enough for me to compensate for in post production.
With tracking somewhat sorted out, I had another challenge of managing the wild swings in exposures throughout the eclipse. You will notice I had to segment the time lapse as I made adjustments. I used spot metering, shutter priority mode with auto ISO throughout most of the sequence and stepped my shutter exposure as the eclipse progressed, switching to manual mode briefly at the peak of the eclipse. As you can see I did not place much emphasis on image quality. Since it was a time lapse, I also set a higher maximum ISO as the clarity and quality of the individual frame is not as important as the consistency of the sequence from frame-to-frame.
I hope you enjoy this time lapse. Please feel free to share your thoughts, ideas, suggestions and experiences, especially with GE mounts and photography.
Star Trails along the northern coast of California
Star trails are a must do, during any astrophotography session. They are perhaps some of the easiest shots to obtain. Simply point your camera towards Polaris (the north star), set your ISO as low as you can go (usually ISO-100) and open your shutter for as long as you can – the longer the better.
I took this shot with the 5D Mark III + Tokina 16-28mm f/2.8 @16mm, f/2.8, ISO-100 and a 30 minute exposure. It’s fascinating to see and experience. I topped my stargazing excursion with this shot. If you notice any off-color specs, those are hot pixels. As a result of the ultra long exposure, even at low ISO, the sensor will heat up and introduce this type of noise.
The image was not edited. Processing was done with Canon DPP and some color contrast enhancing in GIMP.
Milky Way Galaxy dust lanes as seen from the north coast of California.
This last weekend I had some down time and took off for the north coast to explore and visit friends. Anyone familiar with that part of California must also know how remote some parts can be. The upside is there is almost no light pollution. Being in the heart of summer also meant I could stay comfortably outside well after dark. Once your eyes adjust to the pitch black night, all the stars reveal themselves and after about 20 minutes you can see the all the Milky Way galaxy dust lanes with the naked eye.
I have always wanted to explore the wider view as well but never really had such an opportunity. One look up at the sky and I couldn’t help but think this was going to be easy to capture with my Canon 5D Mark III – as it usually captures at least twice what I can see. I figured I could stack a few wide shots and be done.
In anticipation of this trip I added a new lens to my kit, the Tokina 16-28mm f/2.8. I will post more on that later. I am very satisfied with how it performed. The shot above is a panoramic of several shots at 16mm, f/2.8, ISO-1600 and 30 seconds. I also shot dark frames (with the cap on). However once I got back home and started processing the RAW files I realized I did not need the dark frames, nor did I need to stack the shots. I am impressed by the high dynamic range of the 5D Mark III RAW image data.
The image processing was done in Canon DPP. The panorama was stitched with PTGui. The final editing and prep was done in GIMP. This was where most of the work was done, mostly with light curves and masks to limit the effects of light pollution from the San Francisco Bay – even though we were several hundred miles north, the effects were still noticeable – see lower right corner of sky.
As usual this July 4th weekend we had several fires in the area so the skies have been particularly hazy which definitely does not help for any kind of viewing of celestial objects. However this morning I remembered the one object that would need more than hazy skies to obscure was available for observation: The Sun.
After my DSLR focuser support rail modification the two next items high on my list were an electronic focuser and a solar observation filter for the telescope. Today I decided it was time to put them both to work after installing them late this past week. Getting a shot of the sun is harder to acomplish than I thought. My spotting scope does not have a solar filter so I could not aim the telescope. after trying unsuccessfully for about 15 minutes, I took the cover off the spotting scope and placed the back of my hand behind the eyepiece to see if I could bring the sun within the field of view. Luckily I did not burn my hand but do not try this at home…LOL.
Once in range I fiddled around with the fine adjustments on the mount controller until the sun came into view in the eyepiece. The filter is so dark, you cannot see anything until the sun “magically” appears in view. The electronic focuser is completely indispensable, especially with the heavy DSLR attached. The rail works so well you don’t notice it. It will remain on the telescope permanently (Orion should just make all refractors with a rail). I quickly swapped the 7D back in place of the eyepiece and used live view to fine focus and center the sun. I used a thick dark towel over my head and the camera in order to view the camera screen and get as clear a shot as possible. I will most likely get some kind of solar foil blanket to make this process easier. As a result my focus was not spot on, but good enough for a first run. From that point on it was just a matter of taking multiple shots at various exposures.
The 7D was set to manual, AWB, ISO-100, and shutter speeds ranged from 1/2000 to 1/8000 second. Using the RAW files I was able to see the ripples on the surface. They may look like noise but it’s just the enhanced contrast of the surface ripples (note, noise would show up in the dark area of the shot). If anyone has any ideas or tips on how to better process and filter the RAW files please drop a comment below. I’m new to this stuff and I know there are ways to enhance and extract features that would otherwise go unnoticed.
The entire telescope and camera assembly were starting to bake in the sun. In a rush to take it indoors, I forgot to take a shot with the Canon EF 2X Extender. I will post those next time I get around to it. You can read more interesting facts about the Sun here.
Orion SkyView Pro 120mm EQ 1000mm on Celestron Advanced GT German Equatorial Mount.
For quite some time now I have had my heart set on taking the life-long journey into the world of astrophotography. I began studying and researching a few years ago. My initial goal was not to learn all there is to know out there but to simply understand what it would take to successfully photograph DSOs (Deep Space Objects). My whole life I have always read and consumed any media I could find on the subject of astronomy, astrophysics and the science of celestial bodies. Growing up in Cameroon, West Africa, a telescope was definitely a very far fetched fantasy so this is an especially significant experience for me. I had previously never looked through a telescope until about a week ago.
I learned enough over the past year to know that for astrophotography, I would need a really good refractor telescope with an aperture of at least 80mm and more importanly I would need a very good german equatorial mount, ideally with GoTo and tracking capabilities. Then I began researching refractors and found out that I would prefer a triplet or at least an apochromatic refractor or doublet. I also concluded that the focal length of most 80mm refractors (under 500mm) did not justify the expense considering I already had a really good 200mm f/2.8 lens and a 2x extender which when combined with my 7D crop factor gave me an effective focal length which was comparable.
So that left me with only refractor telescopes with an aperture of 120mm or larger. Needless to say I quickly saw the expense climbing beyond the stratosphere. So I started shopping the used market. I recently stumbled upon a gentleman who was selling his complete 120mm Orion refractor setup, complete with Celestron Advanced GT mount and auto guide CCD camera scope as well as an assortment of eyepieces, essential accessories and Canon EOS DSLR adapter.
There is so very much to learn. This is an opportunity for me to gain a firm grasp of the fundamentals of astrophotography and astronomy in general without getting too heavily invested. I was able to see Saturn and it’s rings within minutes of setting it up and a few more minutes later I was able to attach my 7D and snag a few really blurry shots. The weight of the DSLR on the focuser made it impossible to acquire and maintain focus. So the first order of business was to modify the telescope mount to accommodate the added weight and relieve the focuser of the stresses.
You can see photos below of a sliding rail I rigged together with some extra aluminum tubing I had left over from myΒ DIY time lapse track and dolly . This vastly improved stability and focusing in my quick test moon shot. I just ordered an electric focusing motor which should eliminate the residual shake when trying to focus. I’m excited!
Focuser camera support rail and carriage modification.
Telescope next to the Canon EF 70-200mm f/2.8 IS II for size comparison.